
mousemove 이벤트가 일어날 때마다
해당 텍스트의 그림자가 마우스 위치로 이동하는 기능을 구현하면 된다.
로직
- const와 함수 생성 및 할당
- 마우스 offset값 활용
- 해당 값을
style.textShadow에 적용!
const와 함수 생성 및 할당
💡 마우스가 움직일 공간인 뷰포트와 h1태그를 변수화 한 후, 함수를 생성해준다.
1
2
3
4
5
6
7
8
9
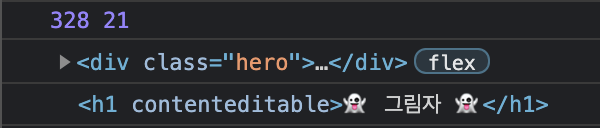
| const hero = document.querySelector('.hero');
const text = hero.querySelector('h1');
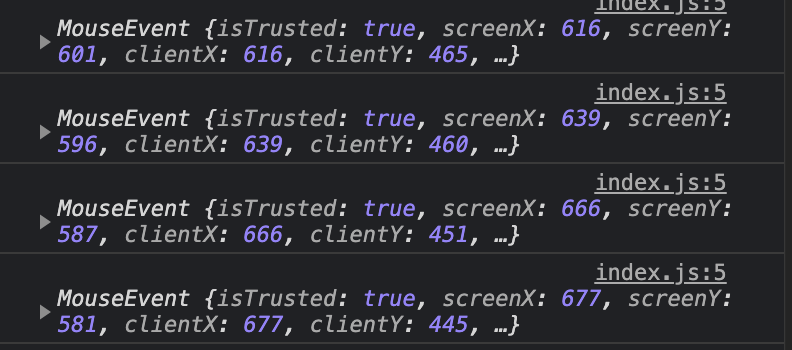
function shadow(e) {
console.log(e);
}
hero.addEventListener('mousemove', shadow);
|
offsetX & offsetY 값의 활용
💡 canvas 챕터에서 사용했었던 offset값을 다시 활용해보자.
1
2
3
4
| function shadow(e) {
let { offsetX: x, offsetY: y } = e;
console.log(x, y);
}
|
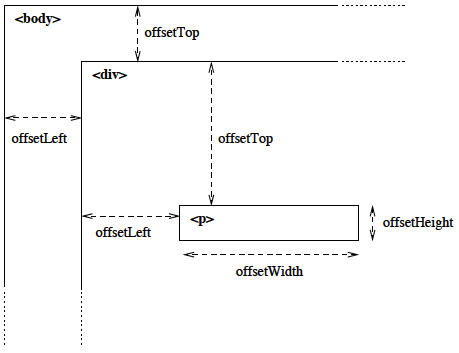
하지만… hero 안에 자식요소로 <h1> 태그가 존재하기 때문에
text위에 마우스를 올리면 자식요소에 대한 offset값이 출력된다.
🤔 X축에 대해선 offsetLeft를, Y축에 대해선 offsetTop을 활용하면 된다.
1
2
3
4
5
6
7
8
9
| function shadow(e) {
let { offsetX: x, offsetY: y } = e;
if (this !== e.target) {
x = x + e.target.offsetLeft;
y = y + e.target.offsetTop;
}
}
|
offset 값을 px로 반환하여 활용
💡 기본 단위를 선언 ⇒ 픽셀 값으로 반환하여 적용
1
2
3
4
5
6
7
8
9
10
11
12
13
14
15
16
| function shadow(e) {
const { offsetWidth: width, offsetHeight: height } = hero;
let { offsetX: x, offsetY: y } = e;
if (this !== e.target) {
x = x + e.target.offsetLeft;
y = y + e.target.offsetTop;
}
xWalk = Math.round((x / width) * 100) - 50;
yWalk = Math.round((y / height) * 100) - 50;
text.style.textShadow = `
${xWalk}px ${yWalk}px 0 rgba(161, 231, 233, 1)
`;
}
|
최종 완성 코드
1
2
3
4
5
6
7
8
9
10
11
12
13
14
15
16
17
18
19
20
| const hero = document.querySelector('.hero');
const text = hero.querySelector('h1');
function shadow(e) {
const { offsetWidth: width, offsetHeight: height } = hero;
let { offsetX: x, offsetY: y } = e;
if (this != e.target) {
x = x + e.target.offsetLeft;
y = y + e.target.offsetTop;
}
xWalk = Math.round((x / width) * 100) - 50;
yWalk = Math.round((y / height) * 100) - 50;
text.style.textShadow = `
${xWalk}px ${yWalk}px 0 rgba(161, 231, 233, 1)
`;
}
hero.addEventListener('mousemove', shadow);
|